- 1 Conditions for killifish to spawn
- 2 From killifish spawning to egg collection
- 3 How to hatch and raise killifish fry
- 4 How to raise killifish needles! About food
- 5 How to raise killifish needles! How do you change the water?
- 6 Related Articles
Conditions for killifish to spawn
First, let’s keep in mind the conditions for killifish to spawn.
When the killifish have matured to adulthood after about three to six months of age, if conditions are favorable, they will spawn every day from spring to early fall (April to October) when the water temperature is high.
Conditions for spawning include a water temperature of at least 18°C (64°F), at least 13 hours of sunlight per day, a healthy male and female killifish population, and an appropriate killifish stocking density.
From killifish spawning to egg collection
When killifish spawn
Killifish generally mate and lay eggs from dawn to early morning. If you see eggs hanging from the female killifish’s belly, collect the eggs.
Then, prepare a container about the size of a small Tupperware for incubating the eggs and a tank or container for raising the fry.
How to collect the eggs (egg collection method)
Eggs are attached to the medaka’s abdomen by a sticky thread-like substance called tenrakushi.
About 12 hours after spawning, the eggs separate from the killifish’s abdomen, and the killifish then begins to lay its eggs on the surrounding water plants.
The killifish eggs are covered with a hard shell, so they will not break if touched directly with a finger.
Direct egg collection
This method is a bit more violent, but it involves capturing the killifish in a net while it is still holding its eggs on its belly, and then collecting them with a finger or a soft brush.
This method ensures that all eggs are collected, but has the disadvantage of stressing the killifish. It also requires more time for egg collection.
Using egg-laying beds
The most common method is to use egg collection goods. These goods, called egg-laying beds (sanranksho), are sold at 100-yen stores these days.
Egg-laying beds are made of various materials, such as hard kitchen sponges, loosened coconut fibers, or rolled net-like materials.
All of these can be set up simply by submerging them in an aquarium or other rearing container. Every day or every few days, remove the spawning beds and either take the eggs one by one with your fingers or transfer the entire spawning bed to another container.
Take eggs that have sunk to the bottom of the aquarium
If you are keeping killifish in a container with no spawning beds or gravel, you can collect the eggs by sucking the bottom with a dropper and filtering them through a net around noon or evening, when the eggs leave their bellies.
This method is effective for those who keep dozens of killifish in a large container, but it is a bit time-consuming.
Wash collected eggs with tap water
Since the eggs are covered with a hard shell and are cut off from the surrounding water, there is no problem in washing them with tap water.
Tap water has a sterilizing effect. Washing the eggs in tap water and separating them one by one will increase the hatchability rate.
How to hatch and raise killifish fry
Transfer medaka eggs to a separate container
Move the eggs you have collected to a separate container. This is because adult killifish will prey on the newborn fry.
Medaka will eat anything small enough to fit in their mouths.
Therefore, even if the fry hatch from the eggs, they may be preyed upon by the parent killifish or killifish kept with them. If you want to be sure of raising killifish fry, isolate the eggs and start a new aquarium.
Once the killifish eggs and killifish fry hatch from the eggs it will be difficult to change the water. Prepare a larger container so that you can grow them in the same container with only additional water without changing water until they reach a certain size.
In our house, we use a planter with a capacity of about 25 liters, which we use to grow several hundred fry killifish at once.
Preparing a larger container exclusively for growing conidia will increase their survival rate!
Let’s also include filter media or gravel
While raising fry, especially during the needleworm period, water changes can be difficult. In a newly set up tank for fry, add gravel or filter media used in the parent killifish tank to increase bacteria.
Remove unfertilized eggs
Some eggs may not fertilize properly and turn white and moldy. Be careful to remove these unfertilized eggs or they will spread the fungus to the eggs around them.
Some killifish breeders use “methylene blue”, a fish disease medicine, to prevent mold, but generally it is not necessary. It has little other use and its strong staining power makes it difficult to handle at home, as it can get on laundry and floors. It is highly effective, but use caution when using it.
Hatching in tap water
Killifish eggs will hatch even if they are kept in tap water that has not been chalked. Once the eggs are collected, fill the container with tap water and, if possible, throw the eggs in one by one, breaking them apart by hand.
Total temperature to hatch is 250°C
It is said that the total temperature required for a fertilized killifish egg to hatch is 250℃. In other words, if the water temperature is 25°C, the eggs will hatch in 10 days; if the water temperature is 20°C, they will hatch in 12-13 days, and so on. Remember that eggs hatch in about two weeks at the temperature at which they spawn.
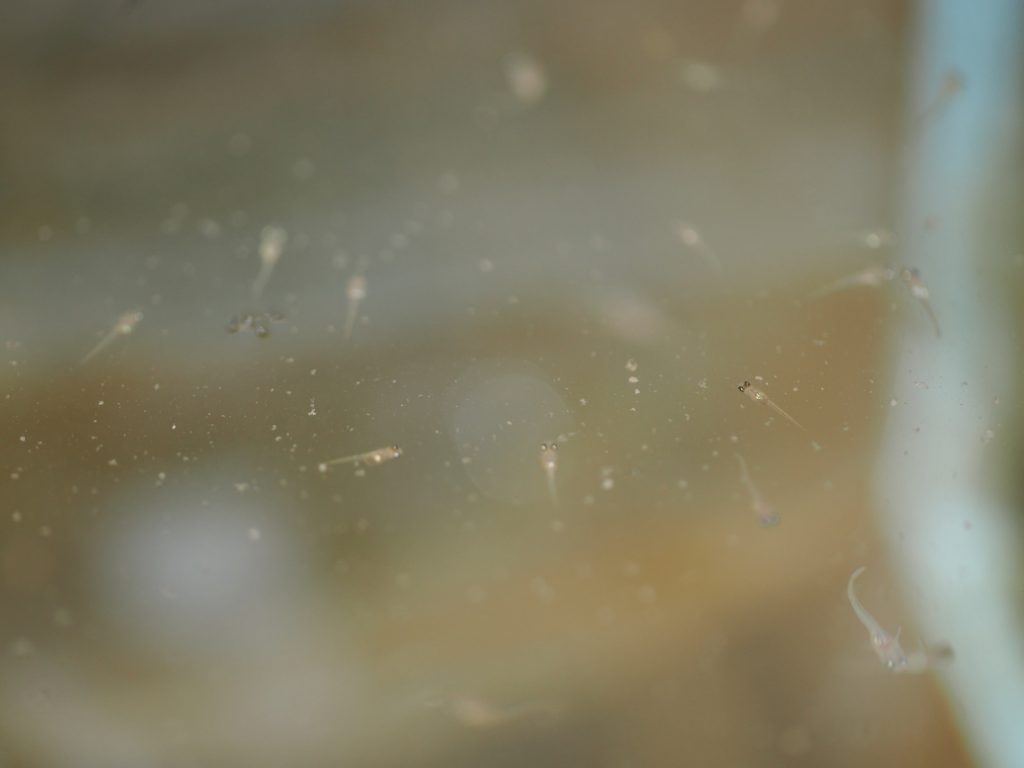
Up to this point, hatching should be done if you are only careful about the occurrence of water mold. Once they hatch safely, the most difficult part is how to raise the “needlefish”. This is where it all starts!
How to raise killifish needles! About food
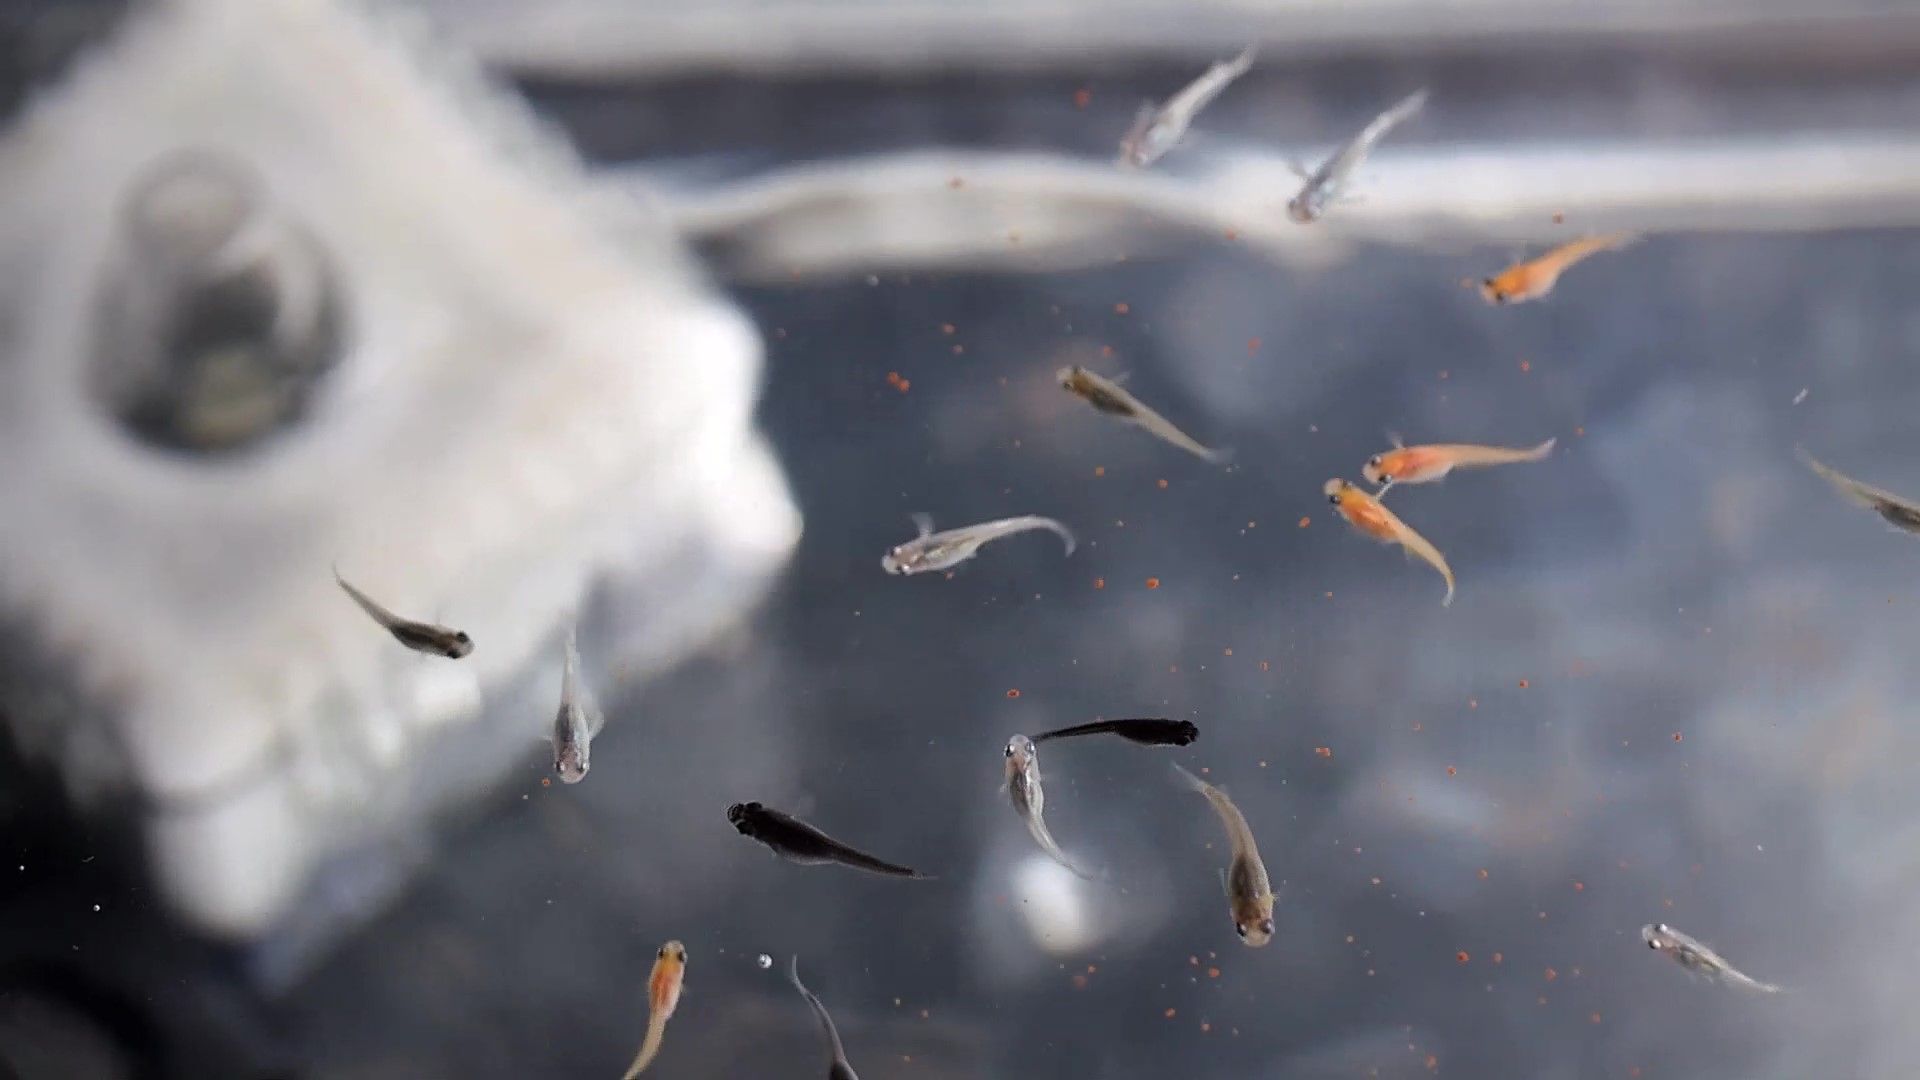
The most difficult part of killifish breeding is growing the newborn fry. The most care is taken to grow them to about 1 cm in length where they become strong swimmers. Once they get past this point, they will be able to feed stably and the difficulty of breeding them becomes very easy.
Food is a thin, wide-ranging mouth-sized powder
Fresh killifish are very small and helpless. Their fins have not yet developed and their internal organs are not fully developed, so they cannot eat the same food as adult killifish.
They are not strong swimmers, so it is important that food is always around the fry.
Make sure to spread the food thinly and widely. If the bait is in powder form, it should spread quickly on the surface of the water.
Initial feed is the most important part of fish breeding
As with tuna, eels, and other cultured fish, the most difficult part of fish fry rearing is getting a mouthful of food and feeding it to the fry.
The food during this period is called “initial feed. This initial food is very important for complete aquaculture to be possible.
Food can be simply grated adult fish food
Simply grind adult killifish food into a powdery consistency and they will grow just fine.
Recently, there are places that sell food for fry, so you can also use that if you find it troublesome to grind the food.
Basically, feed fry less and feed more
The basic rule of thumb for feeding killifish fry is to feed them less per feed and more often per day.
Fry will not eat food that has settled. It is important to feed them as often as they are able, as this will only cause water contamination. A good rule of thumb would be 3-4 times a day.
Need for infusoria (zoospores)
Infusoria is a famous initial food source among enthusiasts
If you are eagerly researching how to raise killifish fry on the Internet, you will probably see the terms “infusoria” and “zoospores”.
Infusoria is a katakana reading of infusoria, which means “dropworm or ciliate.
Apparently, the term is not currently in academic use, but in the aquarium world, infusoria is a general term for plankton that are even smaller than Daphnia magna and Ken daphnia.
Zoospores are well-known as infusoria to be fed to killifish fry. Recently, we have seen products such as “infusoria stock” and “zorimushi water” being sold as medaka breeding goods.
Zorillia can occur at any time
When we had not changed the water in a shallow water tank indoors for a long time, we noticed tiny little caterpillars moving around slightly on the surface of the water, and after observing them for a long time, we found that the killifish fry were eating the caterpillars.
It is difficult to provide a steady supply of zoospores
It is difficult to use elephant beetles at home. It is safer to use artificial feed for killifish because of the expense and equipment required. You will be much better at keeping them if you have the knowledge rather than relying on expensive goods!
How to raise killifish needles! How do you change the water?
It is possible to raise them without water changes, just by adding water
If you keep your killifish in a somewhat large container and have enough water (about 30 liters as a guide), you can grow them to the size of a small killifish (about 1.5 cm) without changing water. Use a dropper to remove leftover food and excrement, and add water for evaporation.
Droppers are available for tropical fish and killifish and are easy to use and can be recommended.
If the container is small, use a dropper to change the water!
If you have a small container, you can use a dropper to change the water.
If you are raising fry in a small container, you will need to change the water in small quantities. Use a dropper to carefully remove the water so that the fry will not be sucked in during the water change. Make sure to slowly add water that has been dealkalized and the water temperature has been adjusted.
Related Articles
This website provides information on how to keep killifish.
Please take a look at our other articles.
Ecology and biological and morphological characteristics of medakaStandard Japanese Names: northern medaka, southern m[…]
Having trouble keeping killifish fry?[caption id="attachment_2628" align="aligncenter" width="1024"] Aim to be full of[…]
Egg-laying season for killifish in a natural environment is from May to OctoberWhen kept outdoors or without a heater,[…]

Medaka keeping is easy even for kids once you get the hang of it!Medaka are probably the easiest type of fish to keep […]